


How to Get a Loan from PaySense Loan App in India: A Step-by-Step Guide
In today’s fast-paced world, getting quick access to personal loans has become easier, thanks to digital loan apps. PaySense is one such platform that offers instant personal loans to help you manage your financial needs without the hassle of traditional bank paperwork. Whether it’s for medical emergencies, home renovation, or unexpected expenses, PaySense can provide a seamless experience. In this article, we’ll take you through the how to get a loan from PaySense loan app in india steps to get a loan from the PaySense app in India and why it’s a great option for your financial needs.

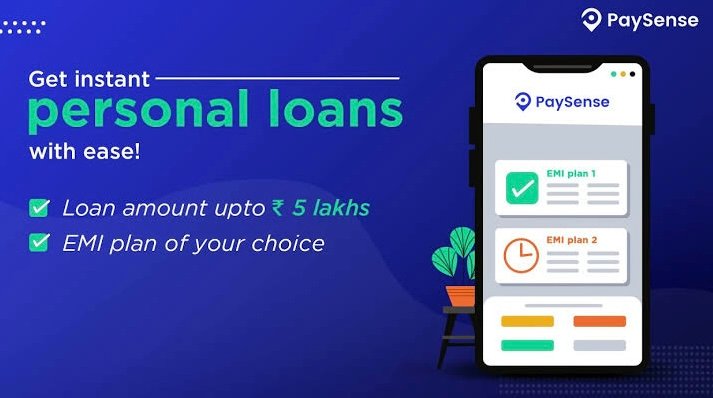
Why Choose PaySense Loan App?
Before diving into the process, let’s know why PaySense stands out:
- Instant Loan Approval: You can get loans approved within minutes, even without a credit history.
- Flexible Loan Amount: Loan amounts range from ₹5,000 to ₹5,00,000, catering to diverse needs.
- Affordable EMIs: Flexible repayment options ensure that you can manage your monthly budget without stress.
- Paperless Application: The entire process is online, making it convenient and fast.
- Minimal Documentation: With just basic documents, you can be eligible for a loan.
Step-by-Step Guide to Getting a Loan from PaySense Loan App
Bajaj Housing Finance IPO: A Game-Changer That’s Capturing Investor Hearts
1. Download the PaySense Loan App
The first step is to download the PaySense Loan app from the Google Play Store or Apple App Store. You can also visit their official website goPaySense.com follow the instructions for app installation.
2. Sign Up and Create an Account : PaySense Loan App
Once the app is installed, sign up using your mobile number and email address. After registering, complete your profile by entering your personal details such as name, date of birth, and PAN card number.
3. Check Your Loan Eligibility : PaySense Loan App
PaySense Loan App allows you to check your loan eligibility instantly by entering your monthly income and employment details. Based on your profile, the app will display the loan amount you’re eligible for. You don’t need an extensive credit history, making it accessible for many first-time borrowers.
Investing for Beginners: A Comprehensive Guide to Building Wealth
4. Select the Loan Amount : PaySense Loan App
Once you know your eligibility, you can choose the loan amount and tenure. PaySense offers flexible tenure options ranging from 3 to 60 months. Choose an EMI option that fits your monthly budget.
5. Upload Required Documents : PaySense Loan App
PaySense Loan App requires minimal documentation to process the loan. Here are the documents you typically need:
- PAN Card
- Address Proof (Aadhar, Passport, or Utility Bill)
- Bank statements for the last three months
- Salary slips if you are a salaried employee
All these documents can be uploaded digitally through the PaySense Loanapp
6. Loan Approval and Agreement
After uploading the required documents, the app will verify your details. This process is usually quick, and if everything is in order, your loan will be approved. Once approved, you will receive a loan agreement that you need to e-sign to proceed.
Personal Finance Checklist: Your Path to Financial Freedom
7. Receive the Loan Amount :PaySense Loan App
Upon successful verification and signing the agreement, the loan amount will be disbursed directly into your bank account within a few hours. This makes PaySense Loan App an ideal solution for urgent financial needs.
8. Repay the Loan : PaySense Loan App
Repaying your loan is easy with PaySense Loan App. The EMI amount will automatically be debited from your bank account on the due date. The app also allows you to track your EMI payments and outstanding balance, ensuring a hassle-free repayment experience.
Benefits of Using PaySense Loan App
- No Collateral Required: PaySense Loan App offers unsecured personal loans, so you don’t need to provide any security or collateral.
- Easy Top-Up Loans: If you’ve repaid a significant portion of your existing loan, PaySense Loan App allows you to apply for a top-up loan.
- Credit Score Building: Timely repayment of loans through PaySense can help improve your credit score, making it easier to get higher loans in the future.
- Loan for Self-Employed: PaySense is not just for salaried individuals. Self-employed professionals can also apply for loans based on their income
Investing in Bonds: A Safe Path to Steady Returns 2024
Eligibility Criteria for PaySense Loan App
To be eligible for a loan from PaySense Loan App , you need to meet the following basic criteria:
- Age: You should be between 18 and 60 years old.
- Income: A minimum monthly income of ₹18,000 for salaried individuals and ₹20,000 for self-employed individuals.
- Location: PaySense services are available in select cities across India.
Tips for Quick Loan Approval From PaySense Loan App
- Maintain a Good Bank Balance: Ensure you have sufficient balance in your account to show financial stability.
- Upload Clear Documents: Make sure the documents you upload are clear and legible to avoid delays in verification.
- Provide Accurate Information: Double-check the details you enter in the app. Any mismatch can lead to delays or rejection.
Conclusion
PaySense Loan App has revolutionized the way for personal loans are accessed in India. With a user-friendly app, minimal documentation, and quick disbursal, it offers a seamless solution for anyone looking to meet their immediate financial needs. Whether you’re a salaried employee or a self-employed professional, the PaySense app ensures you get the financial support you need without unnecessary delays.
So, if you’re in need of quick funds, download the PaySense loan app today and experience the ease of getting a personal loan in just a few clicks!
Also read: PN Gadgil IPO Opens On Sept. 10: From Issue Price To Financials, All You Need To Know
Bazaar Style IPO allotment , how to check status: Details
ECOS Mobility IPO Day 2: 10 Must-Know Insights from the RHP Before You Invest